ABS or PVC edging
Choose a matching or contrasting colour and texture for decorative faces. Include finished edge thickness, corners and trimming requirements with the panel decor and final dimensions.
A coordinated face. A clean finished edge. Order cabinet panels, shelves and furniture parts with the visible edges and final dimensions planned together. Combine plywood, agreed processing and protective packing in one factory order.
CUZI PLY is your plywood manufacturer and direct supplier in Linyi, China, with 10 production lines. Choose the panel and edge finish with our team, then receive a quotation for the finished parts and delivery.
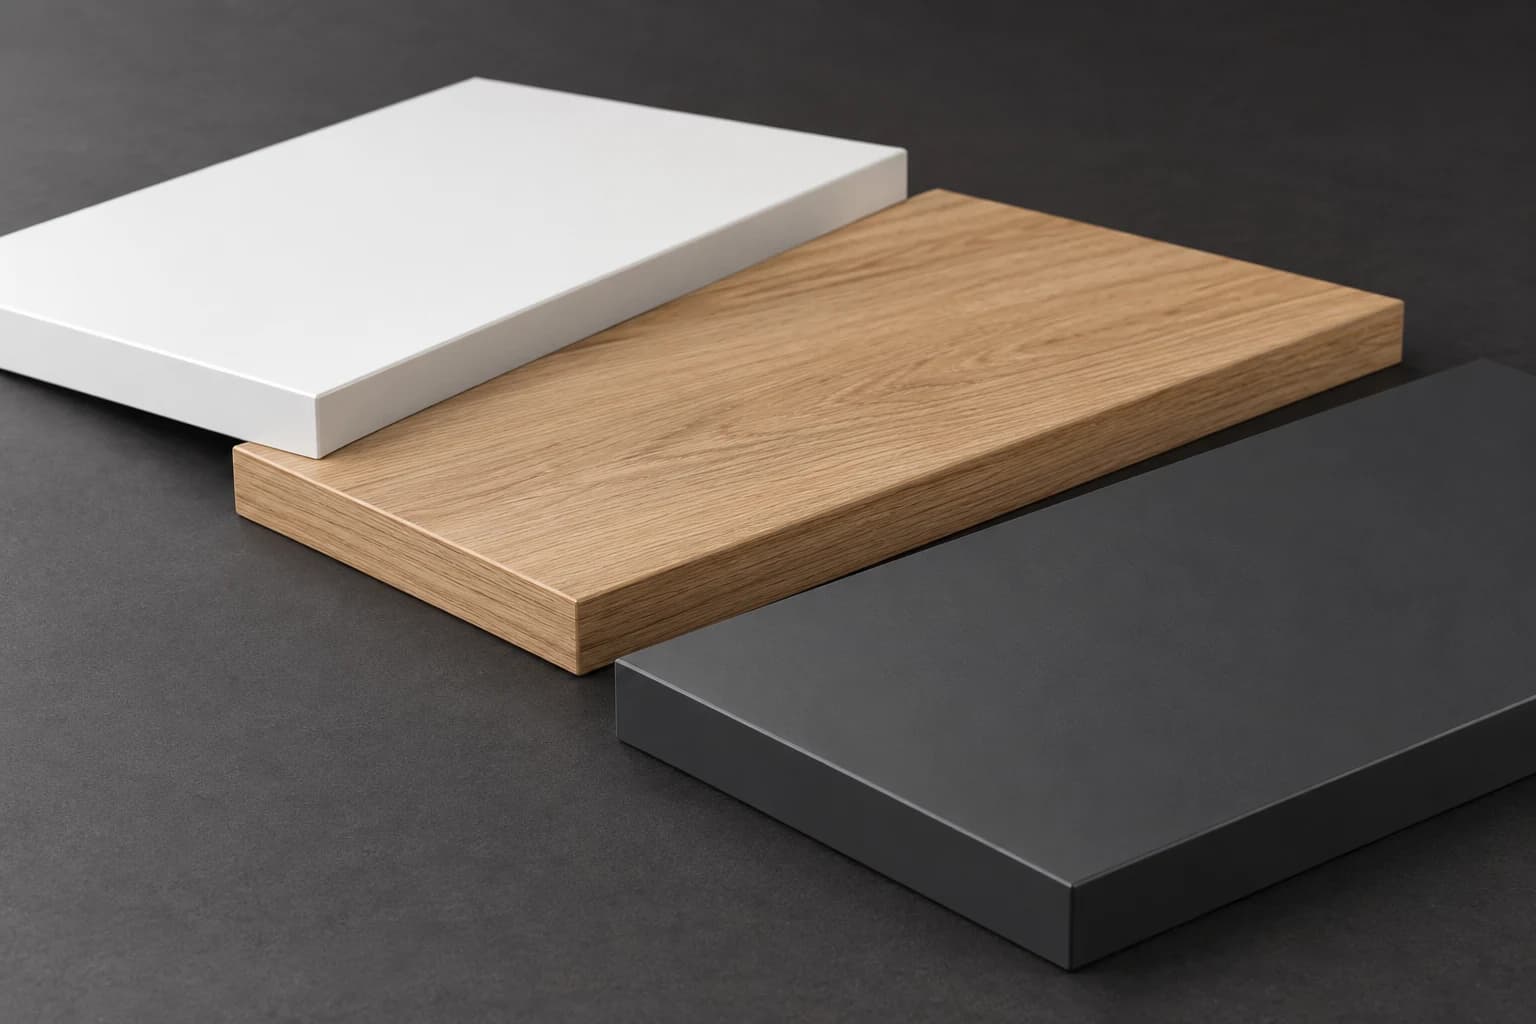
Choose the edge with the panel face, profile, handling and service conditions. A colour-matched cabinet edge, a natural-wood shelf and a contrasting furniture detail are different finishes. Specify the material, texture and finished thickness, not just “sealed edges”.
Choose a matching or contrasting colour and texture for decorative faces. Include finished edge thickness, corners and trimming requirements with the panel decor and final dimensions.
Coordinate species, grain and colour with the face veneer. Include sanding, sealer and coating so the face and edge are assessed at the same finished stage.
Specify the wood section, finished thickness, joint and profile. Keep material added to the panel, adhesive and coating with the final size and assembly requirements.
Prefer the layered plywood edge? Specify an exposed, sanded or coated edge instead of decorative banding. The core appearance, profile and finish then become part of the panel choice.
Plan visible fronts, shelves and fittings with Cabinets & Kitchen Furniture, Furniture Manufacturing and Shopfitting & Interior Panels. Include the installed orientation, hardware and cleaning conditions with the face and edge finish.
Match the face, core, bond and overall thickness to the furniture or interior component. Keep the reverse face, hardware and any later drilling or coating with the edge finish, so the whole piece works for its next operation.
Cabinet panels and interior furniture with coordinated decor and edges.
Face colour, texture, matching reverse, overall thickness and the edges visible after assembly.
Laminated furniture and fitted interior panels with a defined surface finish.
Laminate decor, plywood substrate, balancing reverse, final thickness and edging or lipping.
Furniture parts where face quality, fixing positions and appearance work together.
Presentation face, core, hardware, grain direction and the finish applied before or after assembly.
Veneered fronts, shelving and joinery with natural-wood edges.
Face species, veneer matching, edge material, grain, sanding and the coating system.
Furniture components with covered edges or deliberately visible plywood layers.
Face and core construction, finished thickness and whether the edge is banded, lipped or left visible.
Also compare Baltic Birch Plywood.
Coated panels prepared for further fitting and assembly.
Face coating, edge coating or covering, appearance at the join and protection for the finished surface.
Regular factory sheet formats: 1220×2440, 1250×2500, 1525×3050 mm. On-request formats: 1250×3050, 1250×3660, 2100×2800, 1830×3660, 1250×3800 mm. These are starting panel formats; give the required finished component sizes, thickness and quantities for cutting and edging.
Name the front, rear, left and right edges on the drawing. Show which receive banding, lipping, coating or no covering. Identify the visible face, grain direction and the installed orientation; a shelf front and a cabinet side may need different edges even when their dimensions match.
Identify left- and right-hand pieces separately, with part references and quantities. Keep face grain, decor direction and matching sequences on the same part list as the edge map.
Show how adjacent edges meet and what remains visible after assembly. Include covered corners, hardware clearances and edges that are later machined, rather than treating every side as the same finish.
State the finished length and width, dimension units and reference edges. The cutting plan allows for the material added by edging and any edge preparation. Keep important fit dimensions and tolerances with the delivered part, not an assumed raw cutting size.
Where the edging adds 1 mm on each side, a 600 mm finished width needs a 598 mm prepared panel width. Account separately for any material removed during edge preparation. Use the actual edging thickness and preparation allowance for your order, with the finished size shown on the drawing.
Identify whether dimensions apply after banding, lipping, shaping or coating. Include the mating part, opening or hardware where fit matters. Keep overall thickness and flatness separate from the length and width requirements.
Plan rectangular blanks with Cut-to-Size Plywood and holes, grooves or shaped parts with CNC Plywood Components.
Include the panel construction, edge material and intended cleaning, heat and moisture exposure. Select EVA or PUR with the edging, surface preparation and processing method. State any adhesive requirement; our team confirms the bonding system for the panel and intended use, with the agreed finish and checks in your quotation.
Specify the required glue-line appearance, trimming, corners and bond checks with the material combination. A neat-looking edge still needs suitable adhesion for the way the component will be handled and used.
Choose the plywood bond, surface and edge treatment for the service conditions, including joints, holes and exposed reverse faces. Decorative banding alone does not make a complete panel or assembly waterproof. Include sealing for features cut after delivery where needed.
Review Bonding & Emission Options, Surface & Overlay Options and Moisture & Water Resistance with the chosen panel.
Show straight and curved edges, internal and external radii, profiles, openings and required edge materials. Keep holes and grooves with the finished geometry and hardware. The drawing determines the preparation and finishing sequence for the panel and edge combination.
Dimension the final profile, radius and wood section, with sanding and coating. Include the mating surface or corner where appearance and fit depend on the shaped edge.
Mark later drilling, routing, trimming or assembly on the part list. Keep remaining finish work and cut-edge protection clear so your workshop knows which surfaces arrive finished and which it completes.
Use Plywood Cutting & Forming and CNC Plywood Components to bring machining and edge finishing into the same order.
Start with the parts you need, the face finish and the destination. A readable part list and edge map let us quote the material and finishing together, with the final sizes and supplied form clear for receiving and repeat orders.
| Requirement | What to include | Why it matters |
|---|---|---|
| Part reference & quantity | Part ID, drawing revision, quantity per piece, handed parts and matching sets. | Connect each finished panel and pack label to the intended assembly. |
| Panel face & construction | Face finish, colour or species, reverse face, core, bond and final thickness. | Select the edging and adhesive with the plywood and its service conditions. |
| Visible faces & edge map | Presentation face, grain direction and named front, rear, left and right edges; show every edge to be covered. | Avoid covering the wrong edge or reversing a handed component. |
| Edge material & finish | ABS, PVC, wood veneer or solid wood, with colour, texture, finished thickness and profile. | Keep appearance, handling and material added to the part in the same specification. |
| Finished dimensions | Final length and width after edging, units, important tolerances and reference edges. | Separate the cutting size from the dimensions of the delivered panel. |
| Corners & machining | Corner junctions, radii, curves, grooves, holes, cutouts and operations completed after delivery. | Plan the sequence of machining and edging around the actual geometry and hardware. |
| Bonding, coating & checks | Use, cleaning, moisture and heat exposure, adhesive requirements, coating and agreed appearance or fit checks. | Choose compatible materials and assess the finished edge for its intended use. |
| Packing & destination | Part groups, protective separation, labels, delivery point, delivery term and target date. | Keep finished faces and edges protected and make receiving easier. |
Begin with the panel finish, finished part sizes, quantity, covered edges and destination. Keep the part list and edge map on the same drawing revision, with clear units and presentation faces. If you already have drawings or CAD files, tell us the format; our team will arrange the drawing exchange and help complete the details.
Agree the checks for the supplied panel, including the final size, edge flushness, corner junctions and face protection. Keep adhesion or hardware-fit requirements with the selected construction and intended use.
Measure from the specified references after edging and identify the presentation face, grain and handed part.
Check the agreed face and edge appearance, clean trimming, corner junctions and coating finish.
Use the agreed bond assessment and important joint or hardware checks for the material combination and conditions.
Match references, quantities and sets to the part list, with protection for decorative surfaces and corners.
For a first or changed order, agree a face-and-edge reference, corner finish and the dimensions that affect fitting. Keep these checks with the material, finish and drawing revision before repeat production. The quotation states any preparation or inspection costs and identifies the supplied finishing stages.
Plan Quality & Inspection and Standards & Certifications with the chosen panel and project requirements.
Keep part references, quantities and matching sets on the pack list. Separate decorative faces, protect finished edges and corners, and support the panels for transport. Package sizes and labels should suit your receiving arrangements and next operation.
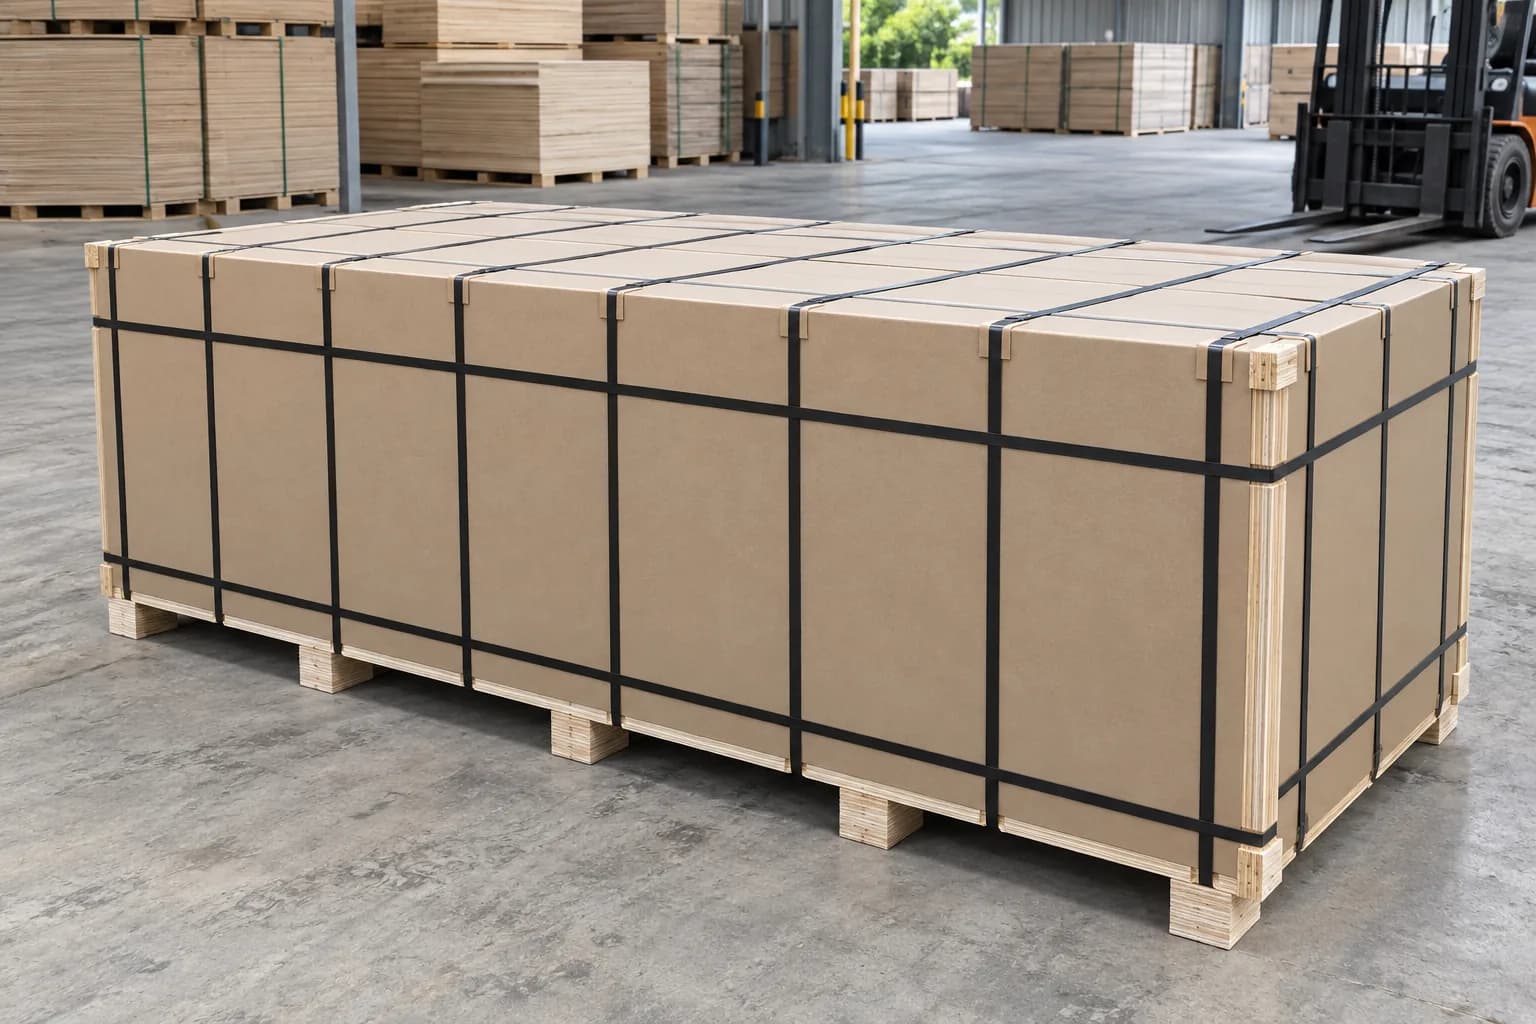
Give the order quantities, delivery point and target date. We plan the plywood, processing and protective packing with the agreed delivery term and included charges. Keep production time and transport time separate.
Keep the part list, face and edge references, dimensions and packing details with each reorder. Identify changed decor, edging or hardware before the next quotation so repeat components follow the intended finish and fit.
Plan Packing & Container Loading, Europe and North America with your destination requirements.
Give quantities for each part and its covered edges. Compare the same panel, edge material, drawing revision, processing, checks and delivery basis. We supply the plywood with the agreed cutting, machining, edging and finishing. Your quotation identifies the delivered parts and included operations; further workshop work, hardware or assembly is listed separately when requested. Preparation costs, minimum quantities and timing are confirmed for the order.
Use the same face, core, bond, thickness and finish, with quantities for each part. Keep cutting and any machining with the panel supply.
List the number, length and position of the covered edges on each piece. Include edge material, colour, texture, finished thickness and profiles.
Identify cutting, edge preparation, any drawing or setup work, shaping, drilling and the finishing sequence. Keep first-order and repeat-order preparation costs clear.
Include the adhesive requirements, coating, corner finish and important dimensions or fit checks. Compare the panel at the same finished stage.
Group matching pieces by part reference and quantity. Include face separation, corner protection and supported packages sized for the receiving location.
State the named destination, delivery term and included charges. Agree order quantities, production timing and transport arrangements separately.
Face, edging and finished-panel supply
Yes. CUZI PLY is your plywood manufacturer and direct supplier in Linyi, China. Give the face finish, construction, thickness, finished part sizes, covered edges, quantities and destination. We quote the plywood and agreed edging together, with the supplied form, checks, packing and delivery terms clear.
Choose the plywood and face finish, then specify the edge material, colour, texture and the edges to be covered. Include final dimensions after edging, corners, any machining and coating. Your quotation identifies the supplied panels and included finishing operations. Work completed by your workshop is identified separately, with hardware or assembly included only when agreed in the order.
Specify the decor or face species with the preferred edge colour, texture and finish. Polymer edging can be matching or deliberately contrasting; wood veneer and solid-wood lipping offer natural-wood choices. Review face and edge appearance together, including grain and coating for wood finishes.
Choose for the face finish, appearance, profile, handling and service conditions. ABS and PVC are polymer options with specified colour and texture. Veneer offers a wood-faced edge; solid-wood lipping adds a wood section that can be profiled. Specify material and finished thickness rather than treating all edging as interchangeable.
Name the front, rear, left and right edges on the drawing and identify the presentation face and grain direction. Mark covered and exposed edges separately. Include handed panels, matching sets and corner junctions where appearance or fitting depends on orientation.
Give the final dimensions after edging and identify them as finished sizes. The cutting plan accounts for the material added by the specified edging and any edge preparation. Include the dimension units, reference edges and important fit requirements; do not assume the raw cutting size equals the delivered panel size.
No single adhesive is the default for every construction. Identify any adhesive requirement and the intended use, cleaning, heat and moisture exposure. The edging, panel, pretreatment and processing method must be compatible. EVA and PUR options have different application requirements; confirm the bonding system for the order.
Decorative edging is not a waterproof rating for the complete panel or assembly. Select the plywood bond, surface and edge treatment for the service conditions, including joints, holes, cutouts and exposed reverse faces. Tell us how the component is cleaned and whether it will be exposed to wetting or heat.
Include the curve, internal and external radii, profile, cutouts and required edge material on the drawing. Geometry and edging influence the preparation and finishing sequence. We confirm the processing for your part, with any restrictions or later operations included in the quotation.
Yes. Mark those edges as exposed plywood rather than banded. Specify the core appearance, sanding, profile and any sealer or coating, with the face finish and intended use. A deliberately finished layered edge is a different choice from an edge covered with polymer, veneer or solid wood.
Keep final dimensions, flush trimming, corner junctions, face appearance and the agreed bond or fit checks with each part reference. Protect decorative faces and corners, group matching sets and use supported packages. Labels and pack quantities should follow the part list at receiving.
Use Request a Sample and identify the panel construction, thickness, face finish and edge combination you want to assess. Include your destination and any important corner or profile. We confirm preparation, availability, sample and courier costs, and dispatch arrangements.
Give the face finish, plywood construction, thickness, finished part sizes, edge material, covered sides, quantities and destination. Add important fit, profiles and later operations. Our factory team will help complete the part requirements and quote the plywood, finishing and delivery together.
For a physical assessment, identify the panel, face finish and edge combination. We confirm preparation, availability, sample and courier costs, and dispatch arrangements.